Every WordPress site that has ever broken in front of real visitors shares a common cause: someone made a change directly on production. A plugin update, a theme edit, a PHP version bump - and suddenly the homepage is throwing a fatal error. A staging environment is the single most effective habit separating professional WordPress development from amateur hour.
What a Staging Environment Actually Is
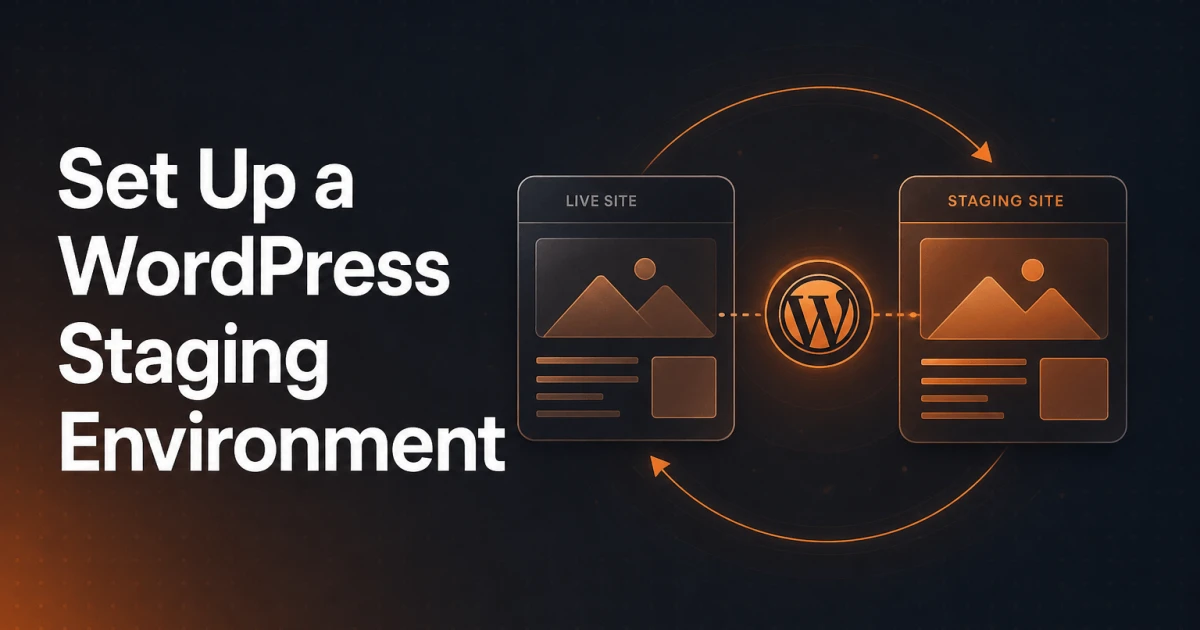
A staging environment is a private, isolated copy of your WordPress site where you can make changes, test them thoroughly, and confirm everything works before touching the live site. It mirrors production as closely as possible - same database content, same plugins, same theme, same server configuration - but it is inaccessible to the public and blocked from search engines.
The distinction matters because a staging site is not a development sandbox where you experiment with new ideas. It is a pre-flight checklist. Changes go from your local development environment or a feature branch into staging, get validated there, and only then get pushed to production. Skipping this step is not a time-saver. It is a deferred risk that compounds over time.
For agencies managing multiple client sites, staging is also a liability issue. A broken WooCommerce checkout on a client's store - even for twenty minutes during a plugin update - is a recoverable technical problem that becomes a very difficult conversation when it happens on a Friday afternoon in front of customers.
Choosing Your Staging Approach
There is no single correct way to run a staging environment. The right choice depends on your hosting setup, team size, and how frequently you deploy changes.
Hosting-Provided Staging
Many managed WordPress hosts - WP Engine, Kinsta, Flywheel, SiteGround, and others - offer one-click staging environments built directly into their dashboards. These are the fastest option to activate. The host handles server configuration, and the staging URL is provisioned automatically, usually as a subdomain on the host's own domain.
The limitation is that you are working within the host's abstraction. Push and pull operations are controlled by the host's tooling, which may not offer granular control over which database tables or files get synced. For straightforward WordPress sites, this is rarely a problem. For complex multisite installs or sites with custom server-level configuration, you may hit walls.
Manual Subdomain Setup
Setting up staging manually on a subdomain like staging.yourdomain.com gives you full control. The process involves creating a subdomain in your hosting control panel, copying the WordPress files via FTP or SSH, exporting and importing the database, and running a search-and-replace on all URLs in the database to point to the staging domain.
The URL replacement step is where most manual setups go wrong. WordPress serializes PHP objects and arrays in the database, which means a naive string replacement breaks serialized data. You need a tool that handles serialized strings correctly - WP-CLI's search-replace command does this reliably:
wp search-replace 'https://yourdomain.com' 'https://staging.yourdomain.com' --all-tablesAfter the replacement, update wp-config.php with the staging database credentials and set WP_HOME and WP_SITEURL explicitly to avoid any cached URL values causing redirects.
Local Staging with Docker
For developers who prefer working entirely offline, Docker-based local environments like Docker with a custom docker-compose.yml, or tools like LocalWP, give you a full LAMP or LEMP stack running on your machine. The advantages are speed, no dependency on internet connectivity, and the ability to test different PHP versions by changing a single line in the Docker configuration.
The tradeoff is that local environments diverge from production over time. Server-level caching, CDN behavior, and certain server-side redirects simply do not behave the same way locally. Local staging is excellent for active development but should not replace a server-side staging environment for final pre-deployment validation.
Setting Up Staging Step by Step
Whichever server-side route you pick, the moving parts are the same. Here is the manual subdomain route from above as concrete WP-CLI commands, which also shows what a host's one-click button does for you behind the scenes:
Create the staging subdomain and an empty database. Give the staging database its own user, so a mistake on staging can never write to production.
Copy the files, except
wp-config.php. On the same server,rsync -a --exclude=wp-config.php /var/www/example.com/ /var/www/staging.example.com/does it in one pass. Then create a stagingwp-config.phpthat points to the staging database.Copy the database. WP-CLI can pipe production straight into staging without leaving a dump file on disk:
wp --path=/var/www/example.com db export - | wp --path=/var/www/staging.example.com db import -Rewrite the URLs. Run the serialization-safe replacement on the staging copy, and leave GUIDs alone:
wp --path=/var/www/staging.example.com search-replace 'https://example.com' 'https://staging.example.com' --all-tables --skip-columns=guidMark it as staging. Add
define( 'WP_ENVIRONMENT_TYPE', 'staging' );to the stagingwp-config.php. WordPress has exposed the value throughwp_get_environment_type()since version 5.5, and plugins can check it to skip work that should never run outside production. Do not rely on it alone: confirm what each critical plugin does with it.Lock it down before anything else. Turn on Settings > Reading > "Discourage search engines from indexing this site" (or run
wp option update blog_public 0), add HTTP authentication at the server level, and stop real emails from going out.Verify the copy. Load the front end and the admin, run forms and the WooCommerce checkout with a test payment gateway, and read the PHP error log.
From this point, every change happens on staging first.
Not every change needs a full staging copy. If all you want is to rework the content of a single page, Signocore Clone duplicates the page as a draft in one click, so you can rebuild it next to the live version and swap the content over once it is approved. That covers content edits. Plugin updates, theme changes and PHP upgrades still belong on staging.
Syncing Staging Back to Production
Pushing changes from staging to production is the step most workflows handle poorly. The core challenge is that production keeps receiving new content - posts, orders, form submissions - while staging is being used for testing. By the time staging is ready to go live, the databases have diverged.
The practical approach for most sites is to push files only, not the entire database. Theme files, plugin files, and custom code changes can be deployed via FTP, SSH, or a deployment script. The production database stays intact, preserving all content created since staging was set up.
For database-level changes - new custom tables, option updates, taxonomy additions - document these as discrete SQL statements or WP-CLI commands and run them on production separately. This is more deliberate than a full database overwrite and far less likely to destroy production content.
If you do need to push the entire database - for example, when staging contains significant content restructuring - always take a full production backup first, and do the push during a low-traffic window. Use WP-CLI's search-replace again after import to flip URLs back to the production domain.
What to Actually Test in Staging
A staging environment is only useful if you test the right things. The following categories cover the majority of production breakages:
Plugin updates: Update all plugins on staging first, especially plugins that interact with the database or hook deeply into WordPress core. Check that admin functionality, front-end rendering, and any plugin-to-plugin integrations still work after the update.
Theme changes: Any modification to a theme - including child theme edits - should be tested across multiple page templates, post types, and device sizes. Pay particular attention to header and footer templates, which affect every page.
PHP version upgrades: PHP version changes are a common source of fatal errors, particularly on sites running older plugins that use deprecated functions. Test a PHP version bump on staging and review the PHP error log before touching production. The relationship between PHP versions and plugin compatibility is more nuanced than most site owners expect.
WooCommerce changes: The entire purchase flow - product pages, cart, checkout, order confirmation, and email notifications - should be tested end-to-end using a test payment gateway. WooCommerce updates frequently touch the database schema and template files.
Core WordPress updates: Major WordPress core updates occasionally introduce template hierarchy changes or deprecate hooks. Test these on staging, especially if your theme uses custom page templates or relies on specific action hooks.
Performance changes: If you are adjusting caching configuration, adding a CDN, or changing image delivery settings, staging lets you measure the impact with tools like the SEO Analyzer before those changes affect real users.
Common Mistakes That Undermine Staging
Forgetting to block staging from search engines
A publicly accessible staging site with duplicate content can cause indexing problems. Search engines may crawl and index staging URLs, creating duplicate content issues that affect your production site's rankings. Block staging at multiple levels: the WordPress "discourage search engines" setting, a robots.txt disallow rule, and HTTP authentication at the server level. The robots.txt Generator makes it straightforward to produce the correct disallow directives.
Letting the staging database go stale
A staging site cloned three months ago no longer reflects production. Testing a plugin update against a three-month-old database means you are not testing against the actual data structures, content volume, or configuration that exists on production. Refresh staging from production regularly - at minimum before any significant testing cycle begins.
Allowing staging to send real emails
WordPress on staging will attempt to send transactional emails - order confirmations, password resets, form notifications - using whatever SMTP configuration it inherited from production. This means real customers can receive test emails, or test orders can trigger real payment notifications. Disable email sending on staging entirely using a plugin like WP Mail SMTP set to a log-only or sandbox mode, or intercept SMTP at the server level.
Not testing with production-equivalent data volume
Performance issues, slow queries, and timeout errors often only manifest at production data volumes. A staging database with 50 products will not reveal the query performance problems that appear with 50,000 products. Where possible, use a recent production database export for staging rather than a minimal test dataset.
Staging as a Professional Workflow
The most effective development workflows treat staging not as an optional step but as a mandatory gate. No change reaches production without passing through staging. This applies to solo developers managing their own sites just as much as it applies to agency teams deploying client work.
Combining a reliable staging setup with the broader WordPress plugin toolkit - version-controlled theme files, automated backups before deployments, and a documented rollback procedure - turns WordPress maintenance from a high-risk activity into a controlled process. The goal is that any change, no matter how small, can be reversed within minutes if something unexpected happens on production.
A staging environment does not eliminate risk. It concentrates it in a place where the consequences are a few minutes of debugging rather than a live site outage. For any WordPress site that matters - and most of them do - that distinction is worth every minute of setup time.