WordPress has served content through templates and PHP for most of its life. But the REST API, introduced in core as of WordPress 4.7, changed the architecture fundamentally - it separated the data layer from the presentation layer, making WordPress a viable content backend for JavaScript applications, mobile apps, and decoupled front-ends. If you are building anything beyond a traditional theme, understanding the REST API is not optional.
This tutorial walks through everything from your first GET request to registering custom endpoints with authentication and shaped responses. Every code block is real and working.
What the WordPress REST API Is and What It Is For
The WordPress REST API exposes your site's data - posts, pages, users, taxonomies, settings, and more - as JSON over HTTP. Any client that can make HTTP requests can read from and write to WordPress without needing PHP or direct database access.
The primary use cases are:
Headless WordPress: Use WordPress as a content management system while rendering the front-end with React, Vue, Next.js, or any other framework. WordPress handles authoring; your framework handles rendering.
Mobile applications: iOS and Android apps can consume WordPress content directly through the API without a separate backend.
Custom admin interfaces: Build JavaScript-heavy admin UIs that interact with WordPress data without page reloads.
Third-party integrations: Push or pull content between WordPress and external services like CRMs, analytics platforms, or other CMSes.
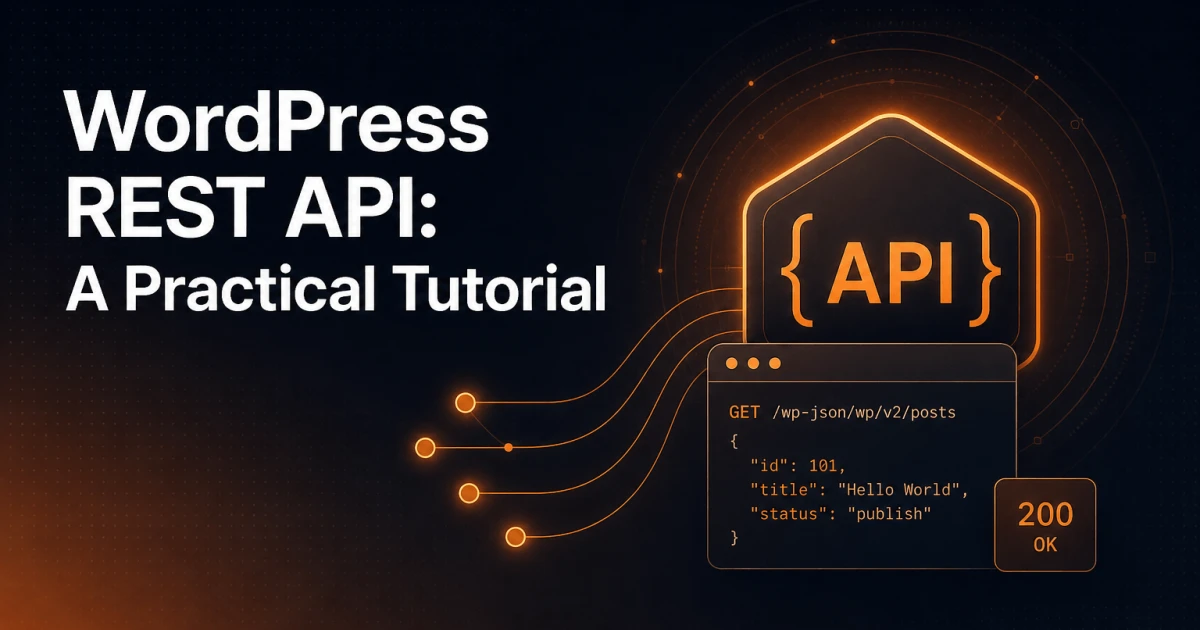
The API lives at /wp-json/ on any WordPress installation. Visiting https://yoursite.com/wp-json/ returns a JSON index of all available namespaces and routes - a useful starting point for exploration.
Key Built-in Endpoints
The core namespace is wp/v2. All built-in endpoints are prefixed with /wp-json/wp/v2/. The most commonly used routes are:
| Resource | Endpoint | Notes |
|---|---|---|
| Posts | /wp-json/wp/v2/posts | Published posts by default; supports filtering by category, tag, author, date |
| Pages | /wp-json/wp/v2/pages | Hierarchical; supports parent filtering |
| Custom Post Types | /wp-json/wp/v2/{post-type} | Only exposed if registered with show_in_rest => true |
| Users | /wp-json/wp/v2/users | Public only returns authors with published posts; full list requires authentication |
| Categories | /wp-json/wp/v2/categories | Supports parent, per_page, hide_empty |
| Tags | /wp-json/wp/v2/tags | Same shape as categories |
| Settings | /wp-json/wp/v2/settings | Requires authentication; exposes site title, description, timezone, etc. |
To expose a custom post type through the API, make sure its registration includes 'show_in_rest' => true and optionally a 'rest_base' to control the URL slug:
register_post_type( 'product', [
    'label'        => 'Products',
    'public'       => true,
    'show_in_rest' => true,
    'rest_base'    => 'products',
    'supports'     => [ 'title', 'editor', 'thumbnail', 'custom-fields' ],
] );
After that registration, /wp-json/wp/v2/products becomes a fully functional endpoint with all standard REST API query parameters available.
Making Your First Request
In the Browser
The simplest way to explore the API is to open a browser and navigate directly to an endpoint. For a site at https://example.com, visiting https://example.com/wp-json/wp/v2/posts?per_page=3 returns the three most recent published posts as a JSON array. Browser extensions like JSON Viewer make the output readable.
With cURL
curl -s "https://example.com/wp-json/wp/v2/posts?per_page=5&_fields=id,title,link" | python3 -m json.toolThe _fields parameter limits the response to only the fields you need - an important optimization for large collections.
With JavaScript Fetch
async function getPosts() {
  const response = await fetch(
    'https://example.com/wp-json/wp/v2/posts?per_page=10&_fields=id,title,excerpt,link'
  );

  if ( ! response.ok ) {
    throw new Error( `HTTP error: ${response.status}` );
  }

  const posts = await response.json();
  return posts;
}

getPosts().then( posts => console.log( posts ) );
With PHP and wp_remote_get()
When making server-side requests from within WordPress itself, use wp_remote_get() rather than raw cURL. It respects WordPress's HTTP API, handles SSL verification correctly, and integrates with the request filtering hooks:
$response = wp_remote_get( 'https://example.com/wp-json/wp/v2/posts', [
    'timeout' => 10,
    'body'    => [
        'per_page' => 5,
        '_fields'  => 'id,title,link',
    ],
] );

if ( is_wp_error( $response ) ) {
    error_log( $response->get_error_message() );
    return [];
}

$posts = json_decode( wp_remote_retrieve_body( $response ), true );
return $posts;
Authentication
Many endpoints are publicly accessible without credentials - reading published posts, pages, categories, and tags requires no authentication. Write operations and access to private content always require authentication.
Cookie Authentication
JavaScript running inside the WordPress admin context is automatically authenticated via the logged-in cookie. You must also pass a nonce to prevent CSRF attacks. WordPress makes this available through wp_localize_script():
// In your plugin or theme's PHP:
wp_localize_script( 'my-script', 'wpApiSettings', [
    'root'  => esc_url_raw( rest_url() ),
    'nonce' => wp_create_nonce( 'wp_rest' ),
] );

// In your JavaScript:
fetch( wpApiSettings.root + 'wp/v2/posts', {
    method: 'POST',
    headers: {
        'Content-Type': 'application/json',
        'X-WP-Nonce': wpApiSettings.nonce,
    },
    body: JSON.stringify( {
        title:  'New Post from JS',
        status: 'draft',
    } ),
} );
Application Passwords
For external clients - scripts, apps, or integrations running outside the browser - Application Passwords are the correct authentication method. They were added to WordPress core in version 5.6 and are available under Users > Profile > Application Passwords.
Once generated, use HTTP Basic Authentication with the username and the application password (spaces removed):
curl -X POST "https://example.com/wp-json/wp/v2/posts" \
  -u "your_username:xxxx xxxx xxxx xxxx xxxx xxxx" \
  -H "Content-Type: application/json" \
  -d '{"title": "API-created Post", "status": "publish"}'
In PHP:
$response = wp_remote_post( 'https://example.com/wp-json/wp/v2/posts', [
    'headers' => [
        'Authorization' => 'Basic ' . base64_encode( 'username:application_password' ),
        'Content-Type'  => 'application/json',
    ],
    'body' => json_encode( [
        'title'  => 'Created via PHP',
        'status' => 'draft',
    ] ),
] );
Application Passwords work over HTTPS only. WordPress enforces this in production - never use them over plain HTTP.
Creating Custom REST API Endpoints
The built-in endpoints cover standard WordPress data, but custom functionality almost always requires custom routes. The function register_rest_route() is the entry point. Always register routes inside the rest_api_init action.
add_action( 'rest_api_init', function () {
    register_rest_route( 'myplugin/v1', '/featured-posts', [
        'methods'             => WP_REST_Server::READABLE,
        'callback'            => 'myplugin_get_featured_posts',
        'permission_callback' => '__return_true', // Public endpoint
        'args'                => [
            'count' => [
                'default'           => 5,
                'sanitize_callback' => 'absint',
                'validate_callback' => function( $param ) {
                    return is_numeric( $param ) && $param > 0 && $param <= 20;
                },
            ],
        ],
    ] );
} );
The callback receives a WP_REST_Request object and should return either a WP_REST_Response, a WP_Error, or a plain array (which WordPress wraps automatically):
function myplugin_get_featured_posts( WP_REST_Request $request ) {
    $count = $request->get_param( 'count' );

    $query = new WP_Query( [
        'post_type'      => 'post',
        'posts_per_page' => $count,
        'meta_key'       => '_is_featured',
        'meta_value'     => '1',
        'post_status'    => 'publish',
    ] );

    if ( ! $query->have_posts() ) {
        return new WP_Error( 'no_posts', 'No featured posts found.', [ 'status' => 404 ] );
    }

    $posts = array_map( function( $post ) {
        return [
            'id'      => $post->ID,
            'title'   => get_the_title( $post ),
            'excerpt' => get_the_excerpt( $post ),
            'link'    => get_permalink( $post ),
            'image'   => get_the_post_thumbnail_url( $post, 'medium' ),
        ];
    }, $query->posts );

    return new WP_REST_Response( $posts, 200 );
}
For endpoints that require authentication, replace '__return_true' with a real permission callback:
'permission_callback' => function() {
    return current_user_can( 'edit_posts' );
},
Never set 'permission_callback' => '__return_true' on write endpoints. WordPress will log a doing-it-wrong notice if you omit the permission callback entirely, and it is a genuine security risk for mutation routes.
Handling and Shaping Responses
Filtering Fields with _fields
The _fields query parameter works on all built-in endpoints and trims the response to only the keys you specify. This reduces payload size significantly for collection requests:
/wp-json/wp/v2/posts?_fields=id,title,slug,date,_links.wp:featuredmediaAdding Custom Fields to Existing Endpoints
Use register_rest_field() to attach custom data to existing resource responses without building a new endpoint:
add_action( 'rest_api_init', function () {
    register_rest_field( 'post', 'reading_time', [
        'get_callback' => function( $post_arr ) {
            $content    = get_post_field( 'post_content', $post_arr['id'] );
            $word_count = str_word_count( strip_tags( $content ) );
            return ceil( $word_count / 200 ) . ' min read';
        },
        'schema' => [
            'description' => 'Estimated reading time',
            'type'        => 'string',
        ],
    ] );
} );
Every post in /wp-json/wp/v2/posts now includes a reading_time field without any changes to the consuming client's endpoint URL.
Practical Example: A Front-End Post Feed via the REST API
The following is a complete, self-contained example of a static HTML page that fetches and renders WordPress posts using the REST API and vanilla JavaScript. No framework required.
<!DOCTYPE html>
<html lang="en">
<head>
  <meta charset="UTF-8">
  <title>Latest Posts</title>
  <style>
    body { font-family: system-ui, sans-serif; max-width: 720px; margin: 2rem auto; padding: 0 1rem; }
    .post { border-bottom: 1px solid #e5e5e5; padding: 1.5rem 0; }
    .post h2 { margin: 0 0 0.5rem; font-size: 1.25rem; }
    .post p  { margin: 0 0 0.75rem; color: #555; }
    .post a  { color: #0073aa; text-decoration: none; font-weight: 600; }
    #status  { color: #888; font-style: italic; }
  </style>
</head>
<body>
  <h1>Latest Posts</h1>
  <div id="status">Loading posts...</div>
  <div id="feed"></div>

  <script>
    const API_URL = 'https://example.com/wp-json/wp/v2/posts';
    const FIELDS  = 'id,title,excerpt,link,date';

    async function loadPosts() {
      const statusEl = document.getElementById( 'status' );
      const feedEl   = document.getElementById( 'feed' );

      try {
        const res = await fetch( `${API_URL}?per_page=6&_fields=${FIELDS}` );

        if ( ! res.ok ) throw new Error( `Request failed: ${res.status}` );

        const posts = await res.json();
        statusEl.textContent = '';

        posts.forEach( post => {
          const article = document.createElement( 'article' );
          article.className = 'post';

          const date = new Date( post.date ).toLocaleDateString( 'en-US', {
            year: 'numeric', month: 'long', day: 'numeric'
          } );

          article.innerHTML = `
            <h2><a href="${post.link}">${post.title.rendered}</a></h2>
            <small>${date}</small>
            <p>${post.excerpt.rendered}</p>
            <a href="${post.link}">Read more →</a>
          `;

          feedEl.appendChild( article );
        } );

      } catch ( err ) {
        statusEl.textContent = 'Failed to load posts. Please try again later.';
        console.error( err );
      }
    }

    loadPosts();
  </script>
</body>
</html>
Replace https://example.com with your WordPress site's URL. If your site enforces CORS restrictions, you will need to add the appropriate Access-Control-Allow-Origin headers on the server side or through a plugin. For development, adding the following to your theme's functions.php allows any origin - restrict this to specific domains in production:
add_action( 'rest_api_init', function() {
    remove_filter( 'rest_pre_serve_request', 'rest_send_cors_headers' );
    add_filter( 'rest_pre_serve_request', function( $value ) {
        header( 'Access-Control-Allow-Origin: https://your-frontend.com' );
        header( 'Access-Control-Allow-Methods: GET, POST, OPTIONS' );
        header( 'Access-Control-Allow-Credentials: true' );
        return $value;
    } );
}, 15 );
A Note on Performance and Schema
REST API responses are verbose by default. A single post object from /wp-json/wp/v2/posts can exceed 3 KB of JSON before you have rendered a single character. Use _fields aggressively on collection endpoints, implement server-side caching with transients for expensive custom queries, and consider whether a custom endpoint returning a leaner payload is preferable to the generic built-in route for high-traffic use cases.
If your WordPress site also serves as a content source for SEO-sensitive pages, keep in mind that structured data and meta information still need to be handled deliberately. Tools like the Schema.org Generator can help you model the correct schema types for your content, and the SEO Analyzer can audit how well your content is structured from a technical SEO perspective - useful even in headless setups where the front-end renders what WordPress provides.
The WordPress REST API is mature, well-documented, and genuinely capable of supporting complex decoupled architectures. The patterns covered here - endpoint discovery, authentication strategies, custom route registration, response shaping, and front-end consumption - form the complete working vocabulary for building with it. Master these, and the gap between WordPress as a CMS and WordPress as a headless content platform effectively disappears.